Dark Chocolate Heart Bombs
Highlighted under: Gourmet Baking Bliss
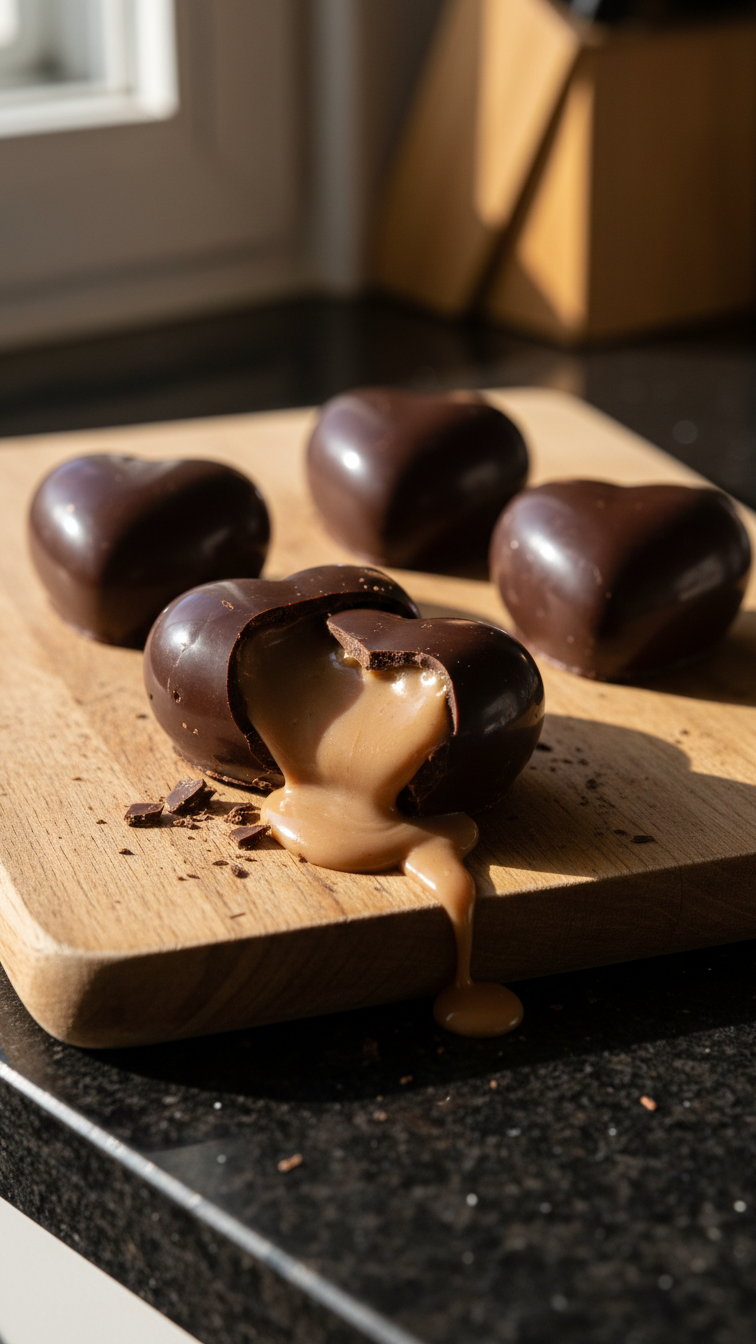
I absolutely adore making Dark Chocolate Heart Bombs for special occasions. The rich, velvety chocolate encases a delightful surprise inside, which makes each bite an adventure. These heart-shaped treats are not only fun to create, but they also allow you to customize the fillings based on your favorite flavors. Whether it’s a creamy ganache or a fruity surprise, these bombs are bound to impress. In just a short time, you can whip up a batch that’s perfect for gifting or enjoying as a decadent snack!
When I first stumbled upon the idea of making these Dark Chocolate Heart Bombs, I was immediately drawn in by the thought of crafting something both beautiful and delicious. Experimenting with various fillings was a joy; I discovered that a mix of salted caramel and raspberry puree works exceptionally well. It adds that perfect contrast of sweet and tart that makes each bomb pop!
One key tip I learned during the process is to temper the chocolate properly. This ensures your bombs will have a beautiful shine and satisfying snap, elevating them from simple sweets to gourmet treats. Plus, using molds makes shaping them a breeze!
Why You'll Love These Dark Chocolate Heart Bombs
- Decadent dark chocolate with a surprise filling
- Customizable with your favorite flavors and ingredients
- Perfect for gifting or as a sweet indulgence on special occasions
The Art of Tempering Chocolate
Tempering your dark chocolate is crucial for achieving a beautiful, glossy finish that gives your heart bombs a professional look. This process involves heating the chocolate to a specific temperature (around 45-50°C/113-122°F) and then cooling it down to about 28-30°C (82-86°F) before using it to coat your molds. By properly tempering, you help the chocolate set with a firm snap and a smooth surface, avoiding any dull or splotchy areas.
If you’re short on time, don't worry; melting the chocolate gently in the microwave with coconut oil still yields excellent results for these heart bombs. Just remember to stir frequently and avoid overheating, as burned chocolate can turn grainy and lose its luxurious texture. If you do accidentally overheat, let it cool slightly before attempting to use it again.
Customizing Your Fillings
One of the joys of making Dark Chocolate Heart Bombs is the ability to customize your fillings. While the salted caramel and raspberry puree combination is divine, consider experimenting with alternatives like nut butters, flavored ganaches, or even citrus zest for a bright twist. If you prefer a creamier filling, whipped cream cheese or mascarpone can add a rich texture that pairs beautifully with chocolate.
For a vegan option, use dairy-free chocolate and substitute coconut cream for the heavy cream in the filling. It's as delicious and can be filled with vegan caramel or fruit purees to maintain that delightful surprise element inside. Don't be afraid to get creative—this recipe is versatile enough to suit various dietary preferences!
Storing and Serving Suggestions
Once your Dark Chocolate Heart Bombs are set, store them in an airtight container at room temperature for up to a week. If you're making them in advance for an event, you can refrigerate them; just be cautious about condensation when bringing them back to room temperature. To serve, I love presenting them in decorative boxes or on a platter to showcase their beautiful shape, adding an elegant touch to any gathering.
For an interactive experience, serve your heart bombs with a warm beverage like hot chocolate or a bold espresso. When they meet a warm drink, the chocolate exterior starts to melt, revealing the luscious filling inside. It's a delightful surprise that enhances both textures and flavors, ensuring your guests are treated to a memorable dessert that’s not only visually stunning but utterly indulgent.
Ingredients
For the Chocolate Shell
- 200g dark chocolate (70% cocoa or higher)
- 1 tablespoon coconut oil
For the Filling
- 100g heavy cream
- 150g salted caramel sauce
- 100g raspberry puree (optional)
- 1/2 teaspoon sea salt
Feel free to mix and match your fillings to suit your taste!
Instructions
Prepare the Molds
Start by ensuring your silicone heart molds are clean and dry. Lightly brush the insides with coconut oil to facilitate easy release later.
Melt the Chocolate
In a microwave-safe bowl, combine the dark chocolate and coconut oil. Heat in 30-second increments, stirring in between until fully melted and smooth.
Coat the Molds
Use a spoon to coat the insides of the molds with the melted chocolate. Make sure to cover the sides generously and allow it to set in the fridge for 10 minutes.
Prepare the Filling
In a small saucepan, heat the heavy cream until just simmering. Pour it over the salt and caramel in a bowl, whisk to combine until smooth. If using the raspberry puree, layer it into the cooled filling.
Fill the Chocolates
Once the chocolate shell has hardened, spoon the filling into each mold, leaving a little space at the top.
Seal the Bombs
Reheat any remaining chocolate if needed and pour it over the filled molds to seal them completely. Smooth the tops with a spatula.
Cool and Unmold
Refrigerate for another 10 minutes or until fully set. Gently pop the bombs out of the molds and enjoy!
Store any leftovers in an airtight container in the fridge.
Pro Tips
- For added texture, consider mixing in some crushed nuts or sprinkles into your filling.
Troubleshooting Common Issues
If your chocolate shell cracks upon unmolding, it may not have been thick enough or fully set. Make sure to coat the molds thoroughly, ideally allowing a second layer of chocolate to ensure durability. If you notice the chocolate is not adhering to the mold, it could be that the coconut oil was not evenly mixed or the molds weren't prepared properly—always brush a light coat of oil first.
In case your filling oozes out when you try to seal the molds, allow the filling to cool down slightly before adding the final layer of chocolate. This will help thicken the filling and create a stronger bond with the chocolate shell, keeping the delightful surprise neatly contained.
Scaling the Recipe
Feeling adventurous? This recipe is easily scalable! Simply double or triple the ingredients based on how many heart bombs you need. Just be aware that if you’re making larger batches, you may need to melt chocolate in increments to ensure an even coating. Also, consider investing in multiple silicone molds for efficiency; this way, you can fill and chill several batches simultaneously.
If you’re looking for a mini version of these treats, simply reduce the size of your molds. Adjusting the baking time is essential, especially for smaller heart bombs. They typically set faster, so keep an eye on them in the fridge, checking around the 5-minute mark to see if they’re ready to unmold.
Questions About Recipes
→ Can I use milk chocolate instead of dark chocolate?
Yes, milk chocolate can be used, but be aware that it will result in a sweeter flavor profile.
→ How do I store these heart bombs?
Store them in an airtight container in the refrigerator for up to a week.
→ Can I freeze the chocolate bombs?
Yes, they can be frozen for up to a month. Just make sure to wrap them well.
→ What alternative fillings can I use?
You can experiment with various fillings such as nut butter, fruit jams, or even whipped ganache.
Dark Chocolate Heart Bombs
Created by: The Tastycrafter Team
Recipe Type: Gourmet Baking Bliss
Skill Level: Intermediate
Final Quantity: 12 servings
What You'll Need
For the Chocolate Shell
- 200g dark chocolate (70% cocoa or higher)
- 1 tablespoon coconut oil
For the Filling
- 100g heavy cream
- 150g salted caramel sauce
- 100g raspberry puree (optional)
- 1/2 teaspoon sea salt
How-To Steps
Start by ensuring your silicone heart molds are clean and dry. Lightly brush the insides with coconut oil to facilitate easy release later.
In a microwave-safe bowl, combine the dark chocolate and coconut oil. Heat in 30-second increments, stirring in between until fully melted and smooth.
Use a spoon to coat the insides of the molds with the melted chocolate. Make sure to cover the sides generously and allow it to set in the fridge for 10 minutes.
In a small saucepan, heat the heavy cream until just simmering. Pour it over the salt and caramel in a bowl, whisk to combine until smooth. If using the raspberry puree, layer it into the cooled filling.
Once the chocolate shell has hardened, spoon the filling into each mold, leaving a little space at the top.
Reheat any remaining chocolate if needed and pour it over the filled molds to seal them completely. Smooth the tops with a spatula.
Refrigerate for another 10 minutes or until fully set. Gently pop the bombs out of the molds and enjoy!
Extra Tips
- For added texture, consider mixing in some crushed nuts or sprinkles into your filling.
Nutritional Breakdown (Per Serving)
- Calories: 250 kcal
- Total Fat: 18g
- Saturated Fat: 11g
- Cholesterol: 30mg
- Sodium: 55mg
- Total Carbohydrates: 22g
- Dietary Fiber: 2g
- Sugars: 15g
- Protein: 3g